Table
How to execute
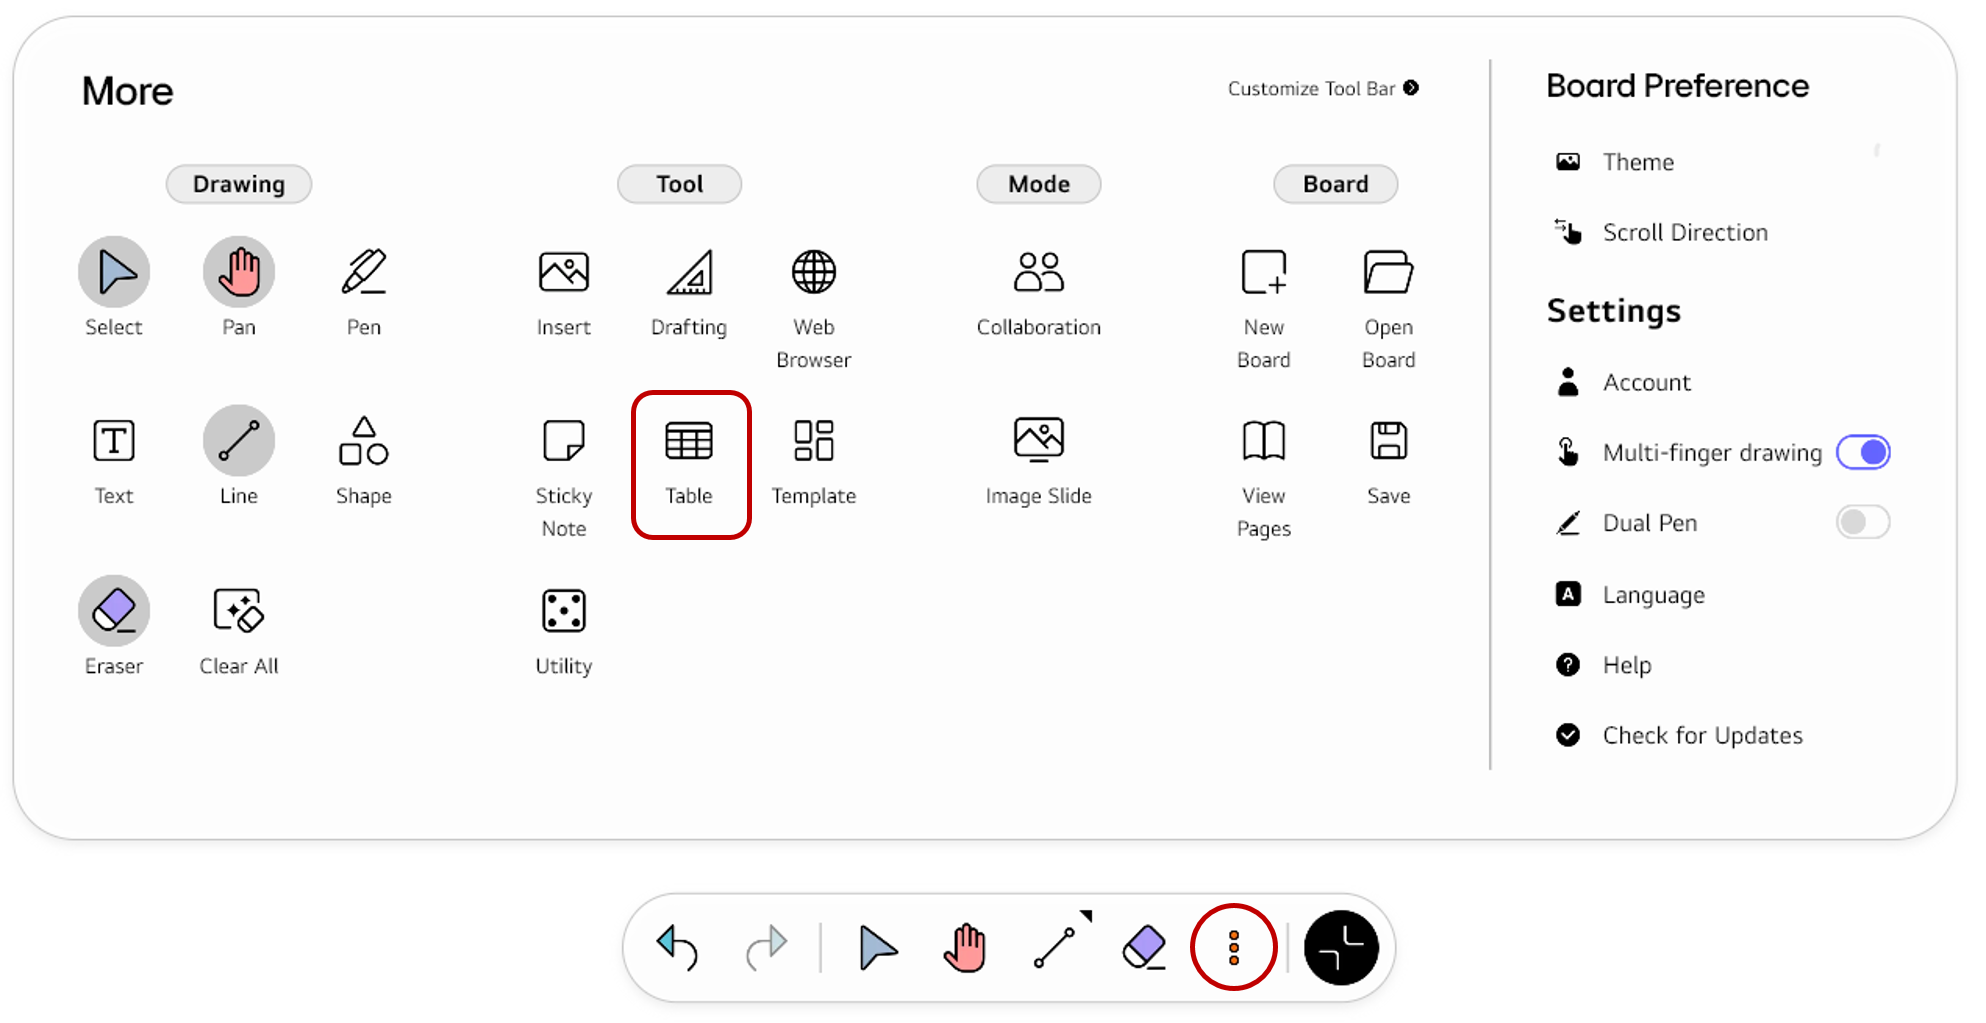
If the Tool bar already displays the Table button, you can simply tap it to execute. Otherwise, tap the More button to display the entire menu and then choose Table.
If you frequently use this item, refer to Customize Tool bar to pin it to the Tool bar for easy access.
Usage & tips
Insert a table
To place a table on the board, drag without pause from one point on the board to another. A table object will be created in the rectangular area made by the two points. A 3x3 table is inserted by default. You can add or delete as many rows and columns as you want from the Options menu.
To enter a value into each cell of the table, switch to the Pen mode to write by hand, or switch to the Text mode to type with the keyboard.
Modify the object options
After inserting a table on the board, you can open the object’s Options menu and modify its properties.
Table object options
| Icon | Options | Description |
|---|---|---|

|
Add Row | Add a row to the table. |

|
Add Column | Add a column to the table. |

|
Delete Column | Delete a column from the table. |

|
Delete Row | Delete a row from the table. |
Common options
For descriptions of the other options, refer to the Options menu.